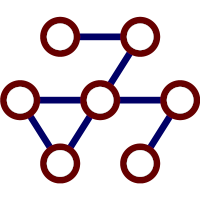
In this post, we will use draw.io to draw our initial image and export it to a transparent PNG image. Then we will use gimp to convert the image to an icon (.ico file). These icons can be embedded into executable files, Windows installer (MSI) files, and desktop shortcuts (and probably other places that I’m not thinking of right now).
I started a new project recently (circucast) partly because I wanted a somewhat generic backdrop project for posting about other subjects (like this – creating icons). For any project, you probably want to come up with a name. I came up with “Circucast” for the project under discussion here. At some point, you may also want to develop logos, icons, and other visual artifacts related to your project. Here, we’re going to focus on the icon.
I wanted an icon that conveyed “connectivity between network nodes”. So how do you do this, and keep it compact enough for a simple icon? My thought was simply to have some circles representing nodes with lines (connections) between them. This couldn’t be too complex since it would be reduced to as small as 16X16 pixels, but should also look interesting in a larger format – and perhaps be part of a logo and other visual artifacts that would be developed later. For the circucast app, one of the novel features under consideration is that it will convey status information about nodes via indirect paths. In other words, app instance do not need a direct connection to communicate, but do need some indirect path via other nodes. I wanted this conveyed in the icon as well, so my “node” circles did not have lines between every node.
In the past, I’ve use various image development and editing applications to work on icons (e.g. inkscape, gimp, photshop, etc.). This time, I wanted to start with a diagraming tool called draw.io. Draw.io is now called diagrams.net, but probably still better know as draw.io which I’ll use here. This free tool is primarily used for building various kind of diagrams, but I’ve found it useful as a basic shape drawing tool as well. There are some things I can do in draw.io that are much easier than using other tools that I’m familiar with. For the purposes of the icon that I described, draw.io is the perfect tool for originating the icon image.
First, download and install the diagrams.net (draw.io) desktop application if you have not done so already. You can also use the online editor at diagrams.net, but I prefer to use the installable desktop application. Start diagrams.net/draw.io, and create a new project.
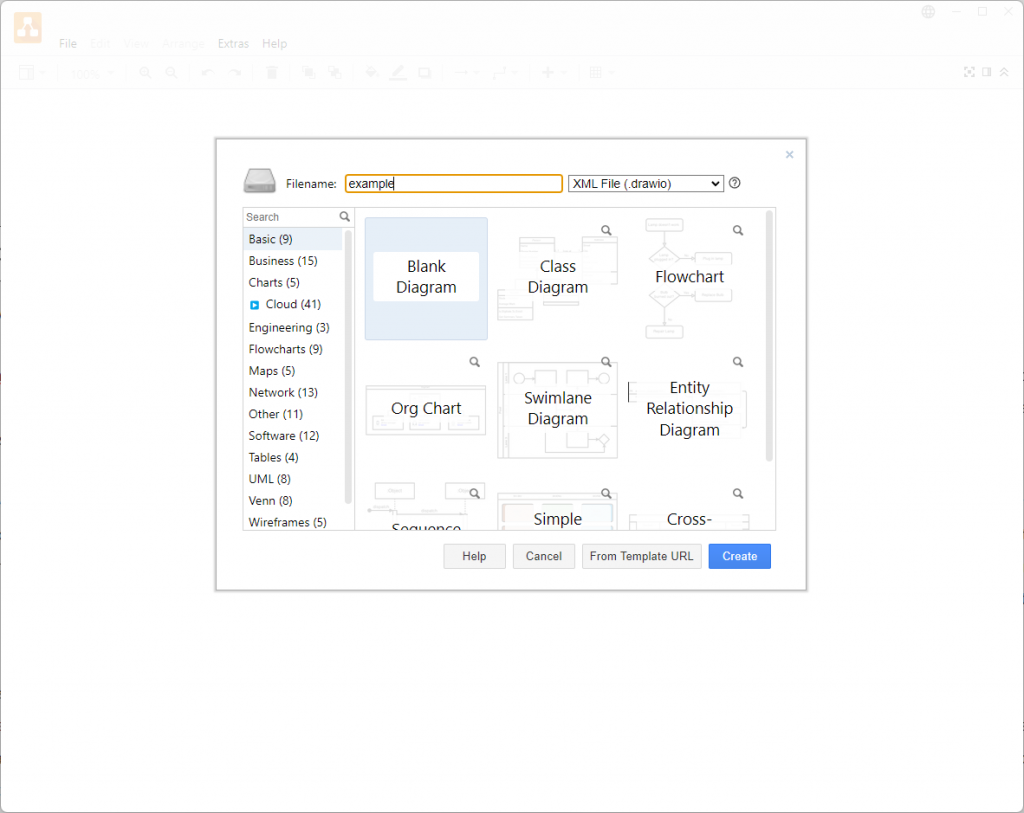
This will open a blank diagram page. You can begin drawing your diagram by dragging shapes from the shapes menu on the left to the diagram.
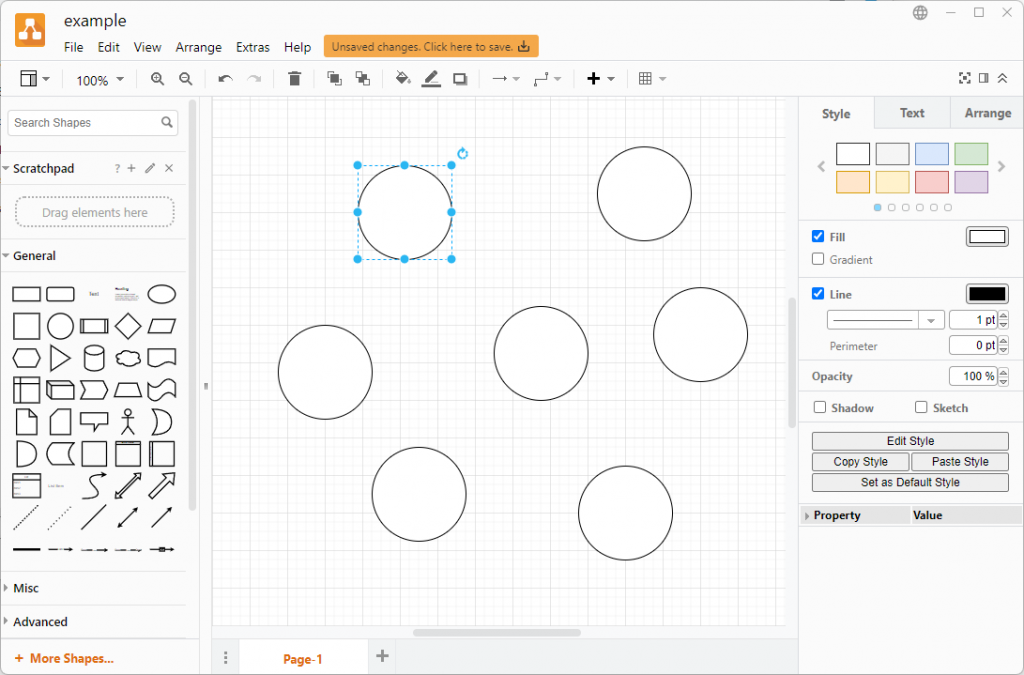
What you do with your own diagram is up to you and there are plenty of help articles for using draw.io (or you can simply start with the help menu). For my diagram, I adjusted the size and position of my circles using the “arrange” tab to get the positions exactly as I wanted them.
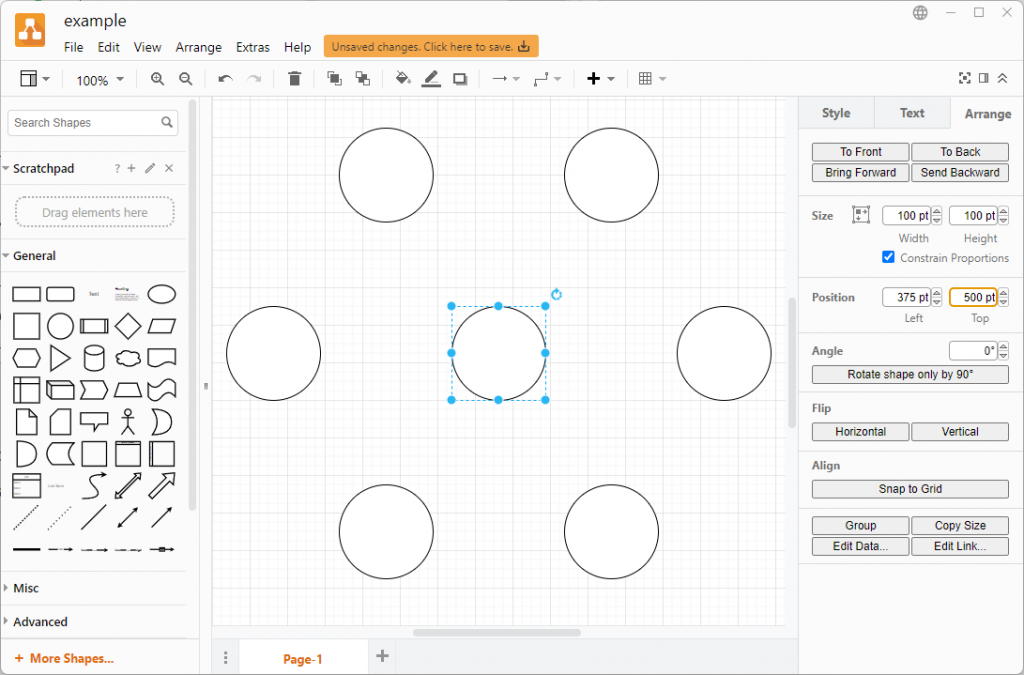
Next, I drew some lines between my circles.
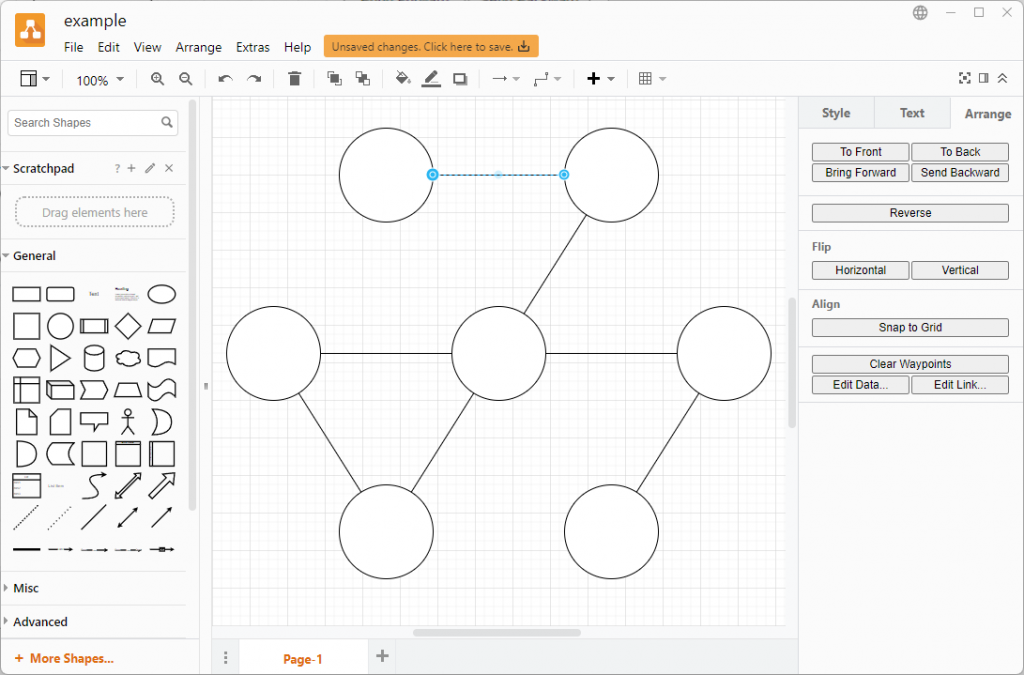
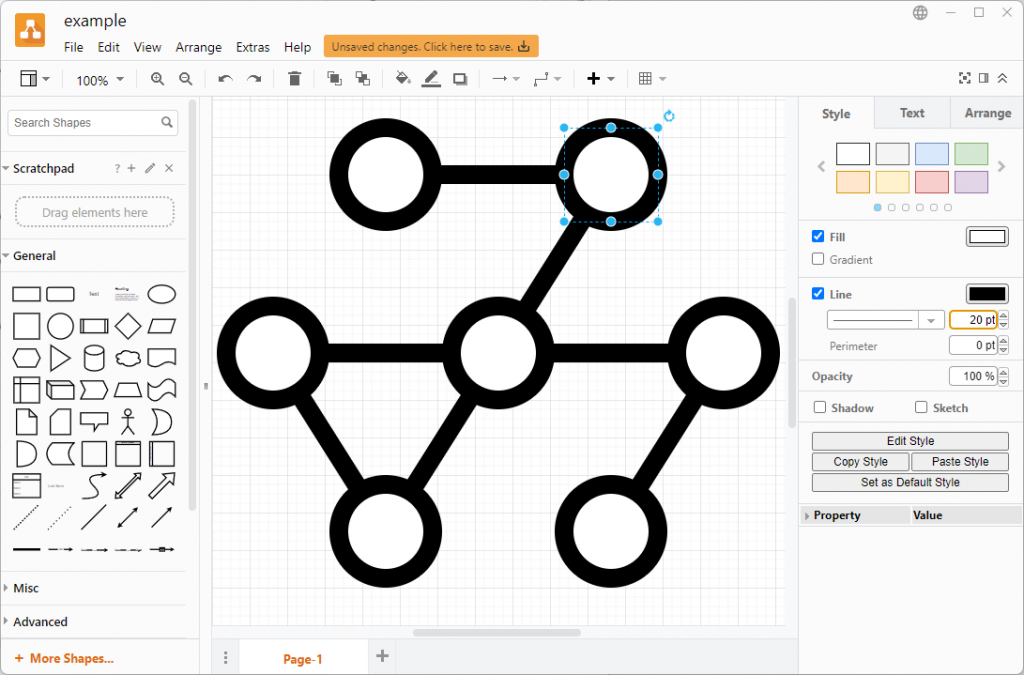
Next, I changed the thickness of the lines (for both the circles and the lines between them). You can so this for multiple objects at the same time.
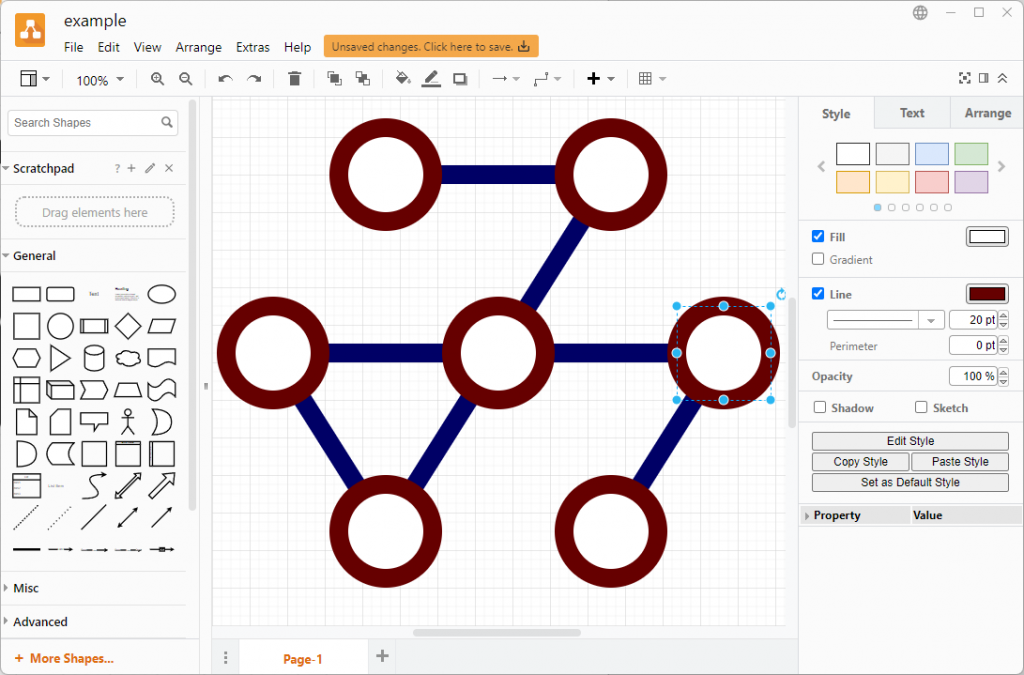
Next, I changed the line colors to something I thought looked better than the default black and white colors.
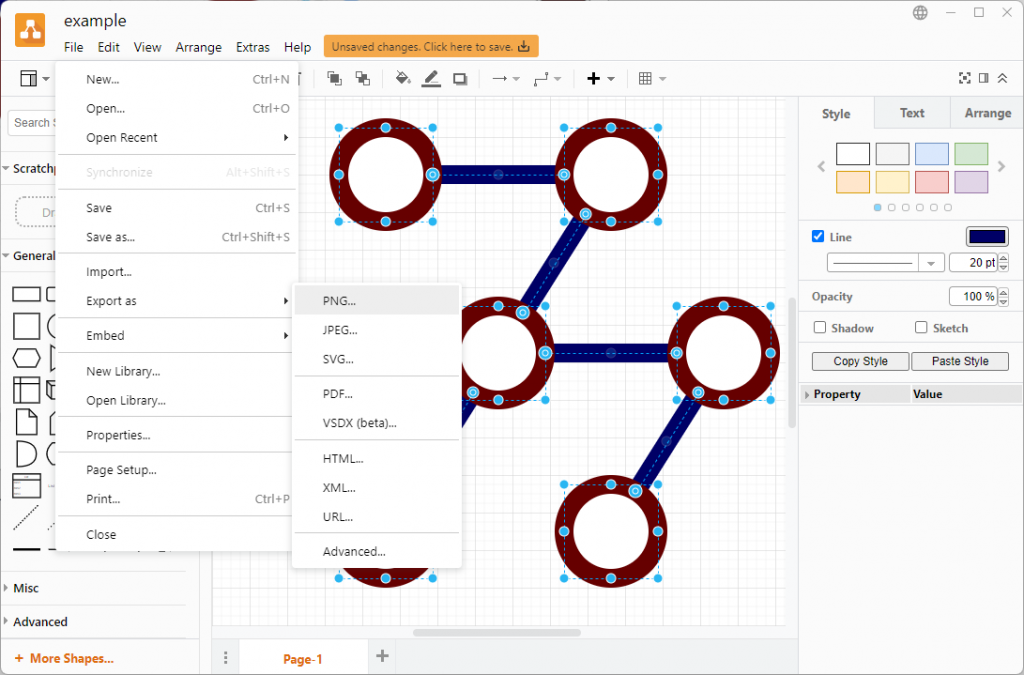
The next thing we want to do here is export our image to a transparent PNG format. I selected all the object (control+a). Then, in the menu I went to “File->Export as->PNG…”
From here, I checked the “selection only” option and the “transparent background” option. I also unchecked the “include a copy of my diagram” option to keep the file size smaller.
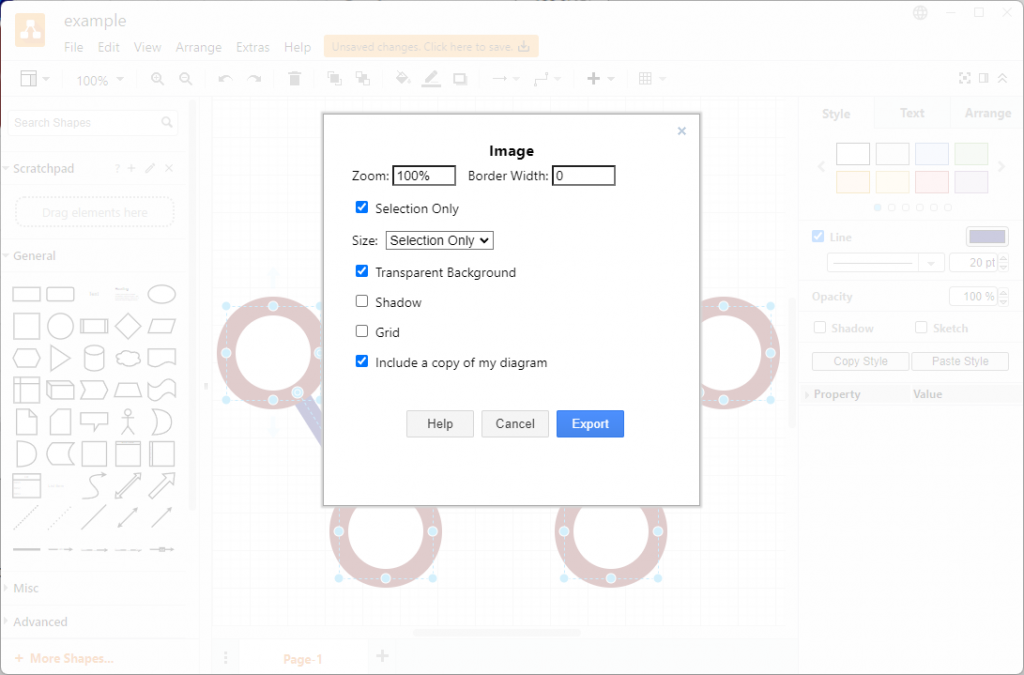
Finally, I clicked the “Export” button and saved my file. At this point I have a PNG file that looks like this…
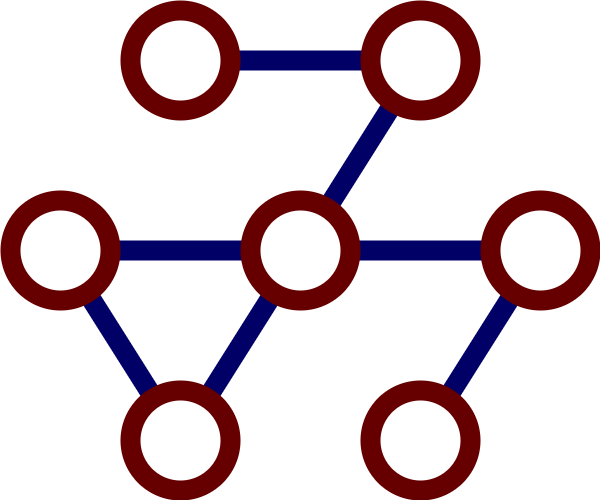
… but what I want is an icon file. So, let’s open the PNG file in gimp (download/install the free gimp program if you have not done so already)…
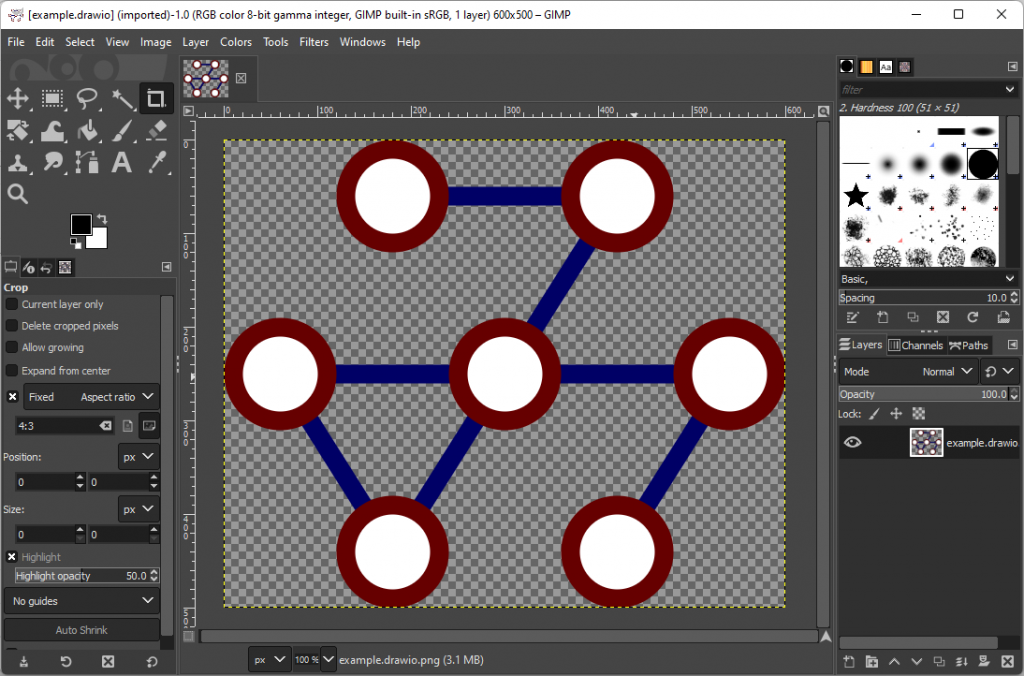
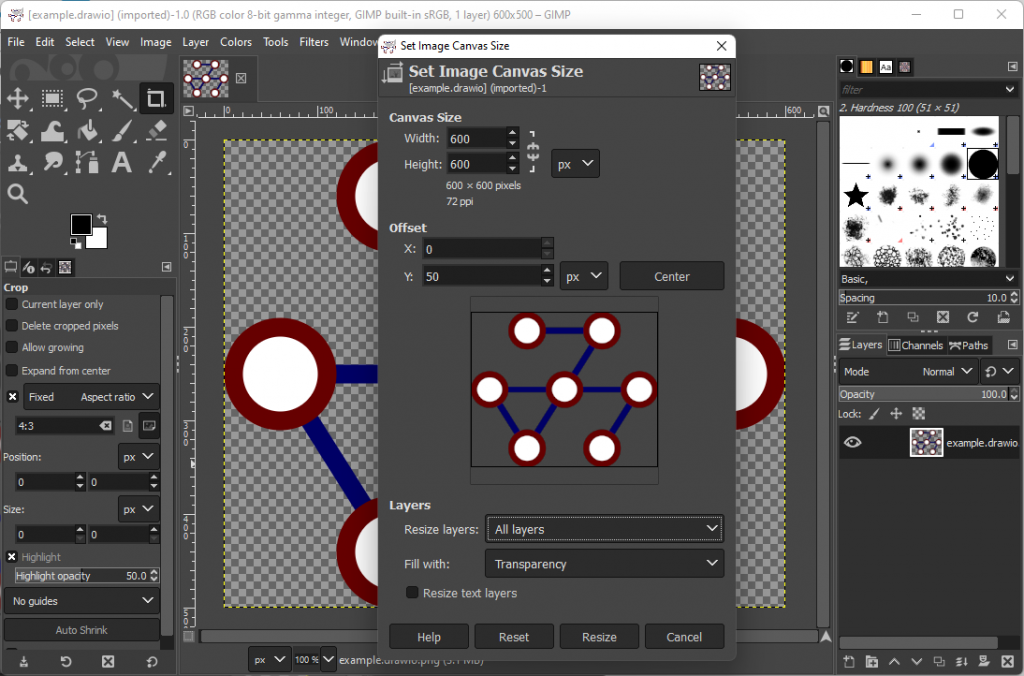
I can see here that the file is 600X500 pixels, but I want my icon file to be square. So I adjusted the canvas size to 600X600 (image centered, resizing all layers). For this, you go to “Image->Canvas size” in the menu.
The largest icon size I want is 512X512, so I’ll go ahead and scale the image down. Go to “Image->Scale Image” in the menu.
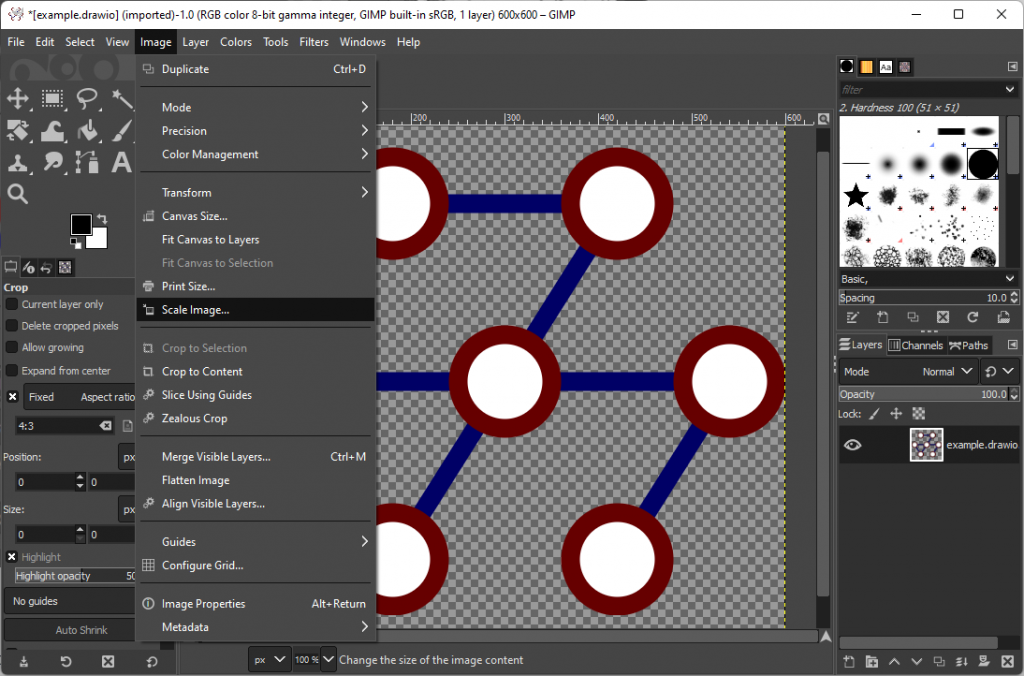
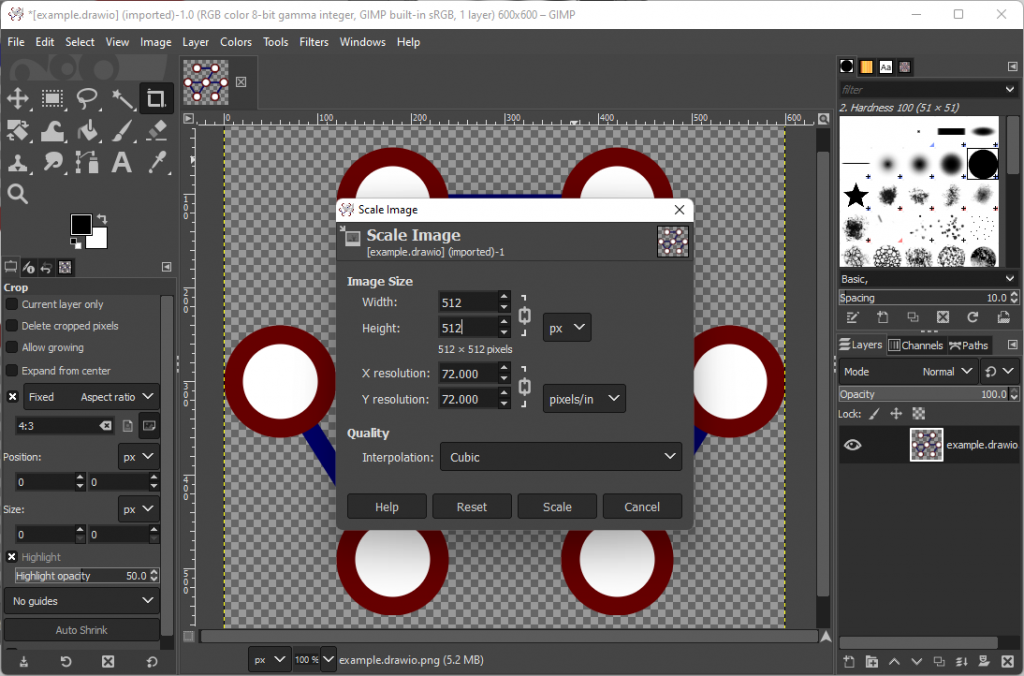
Once the image is scaled, we’ll want to make several copies of the layer. We should end up with 6 copies of the layer, which we will modify (rename and scale). Why six? We’ll want a layer for each of the icon sizes: 512, 256, 128, 64, 32, and 16 pixels square. I’ll start by selecting the existing layer (there is just one right now) in the layers options (lower right) and renaming the layer to “icon 512” (this is somewhat arbitrary, but will help us keep track when we add more layers).
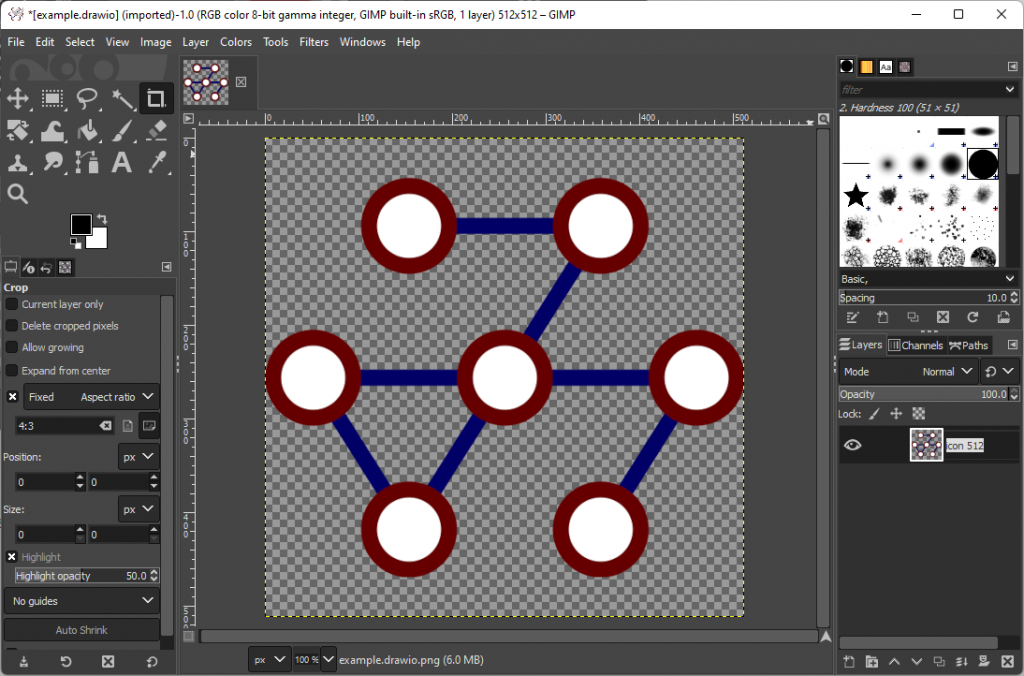
Click the layer duplicate button five times to end up with 6 copies total of the same layer…
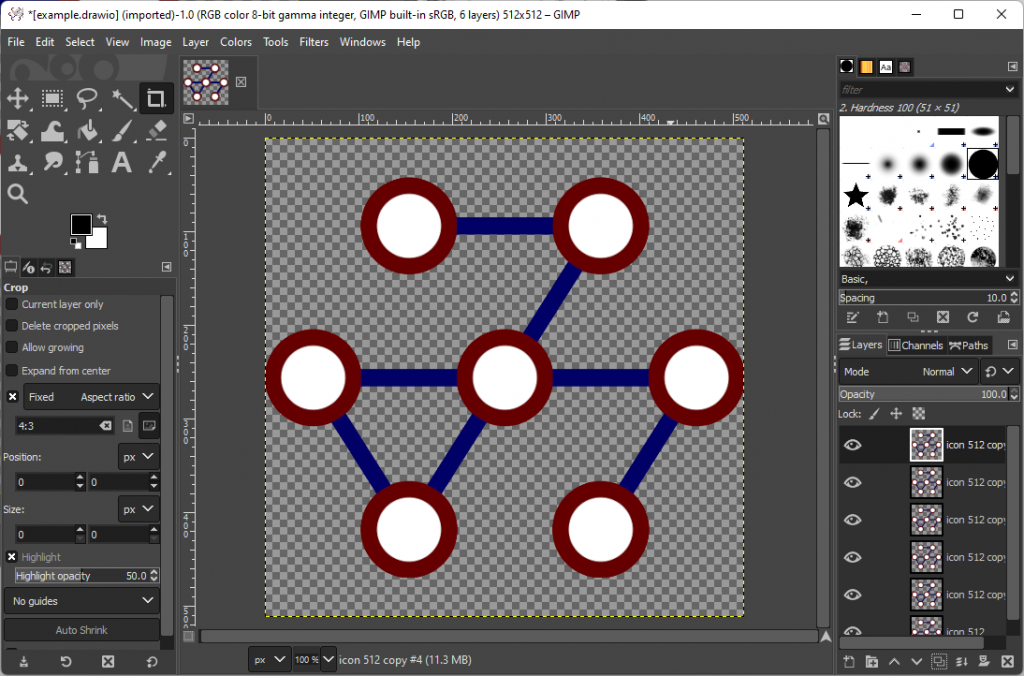
Now let’s rename the first 5 layers to “icon 16”, “icon 32”, “icon 64”, “icon 128”, and “icon 256” (leave the sixth layer alone, which should be named “icon 512”).
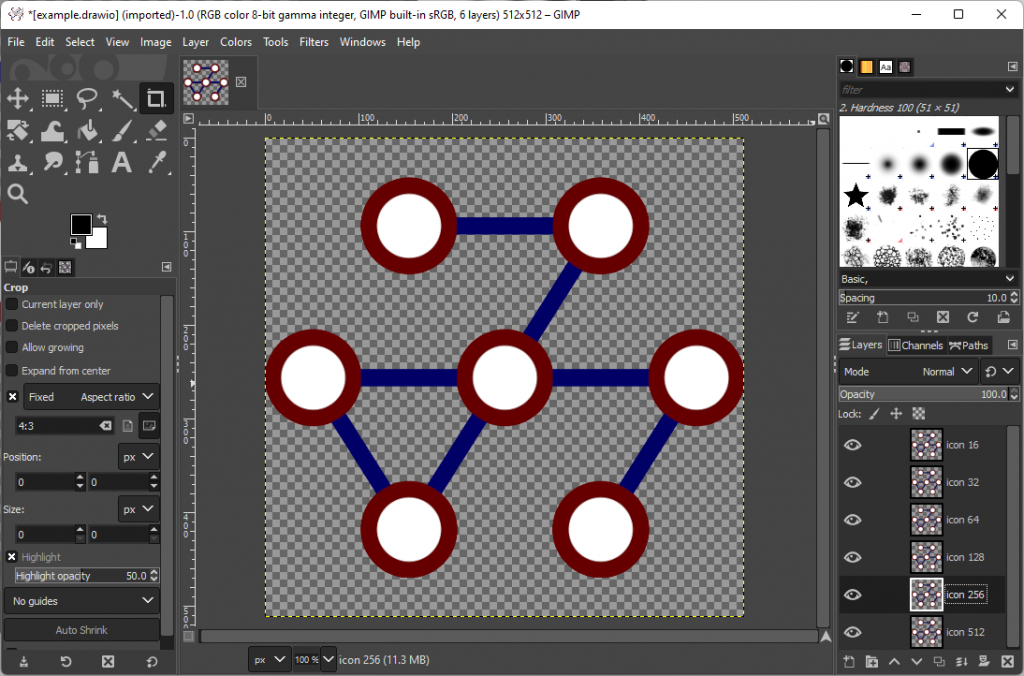
Next, we’ll scale each layer according the square size that we indicated in its name. For each layer, right-click the layer in the layer selection list, and click the “scale layer” option. This will load the “Scale Window”. Change the width and height to the value indicated in the layer name we set previously. For example, for “icon 16”, we set its width and height to 16px, then click the “Scale” button:
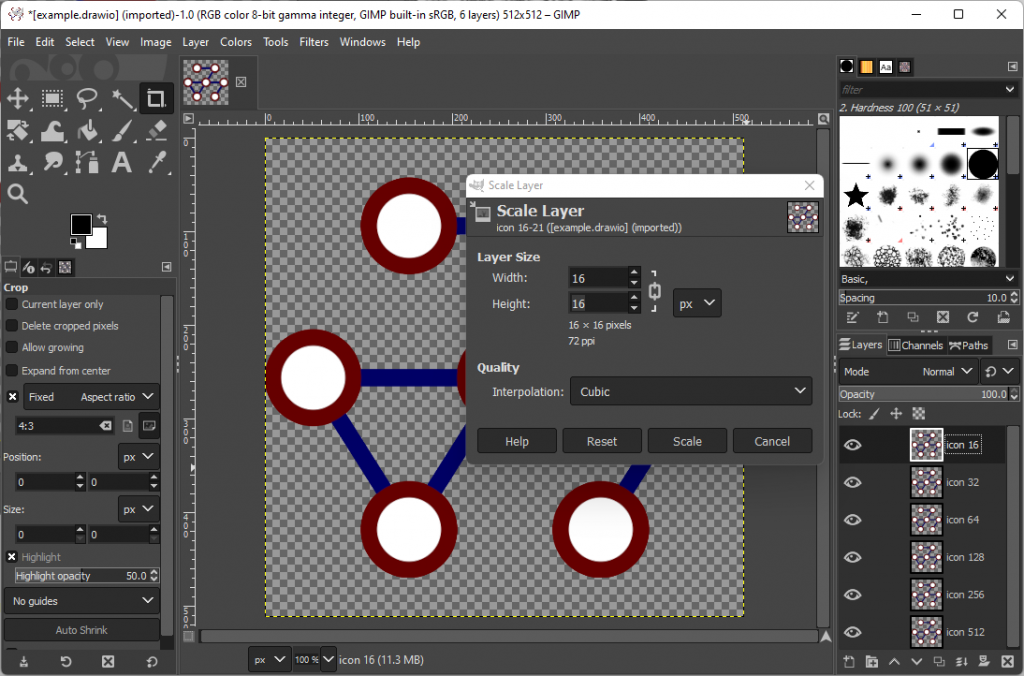
Repeat this step for the other layers, except for the “icon 512” layer which should already be the right size.
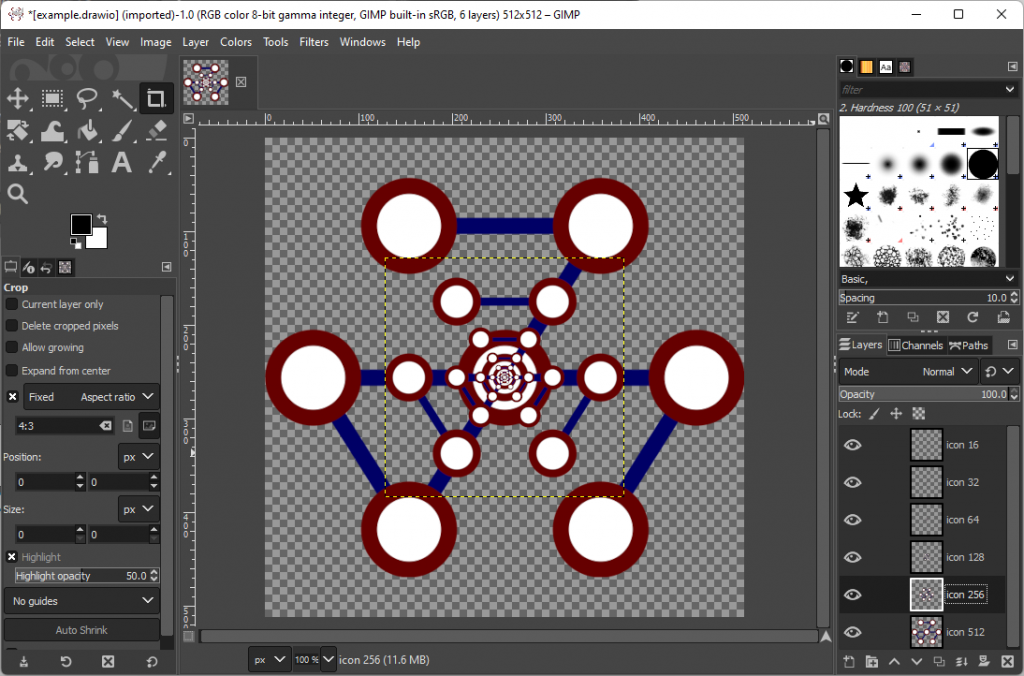
At this point, we can export the image as an icon (.ico file). For this we go to “File->Export as…” in the menu:
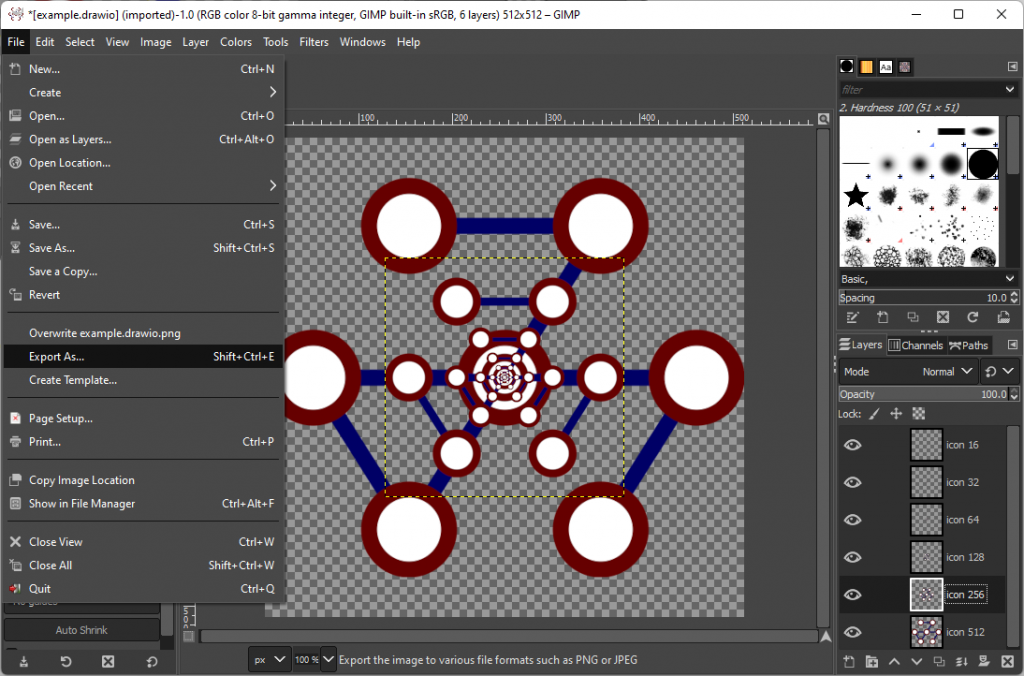
This will open the “Export image” dialog. In this dialog, give your icon a name with a “.ico” extension. By specifying this extension, you are telling gimp that you want it to create an icon file.

This will open another dialog with some additional options that looks like this:

At this point, you can simply click the “Export” button to create the icon file
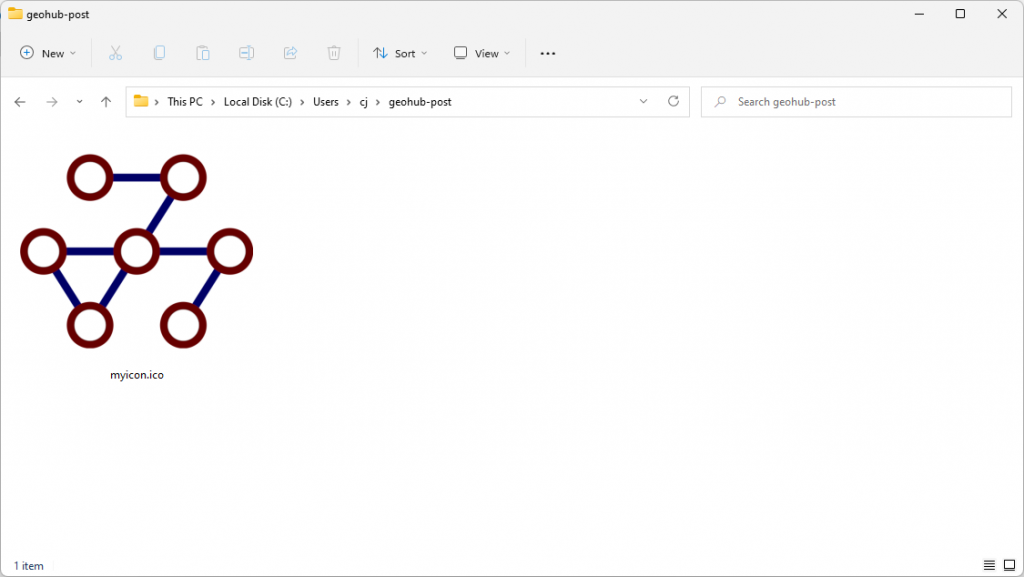
For my original example, I plan to use my icon file in several places. First, it gets embedded into the executable that gets generated when I compile/link the circucast application. Second, the icon gets embedded into the Windows installer “MSI” file (using wix or nsis – I’ll probably use wix). Finally, the icon will be used in shortcuts (e.g. on the desktop) that are used to launch the application.